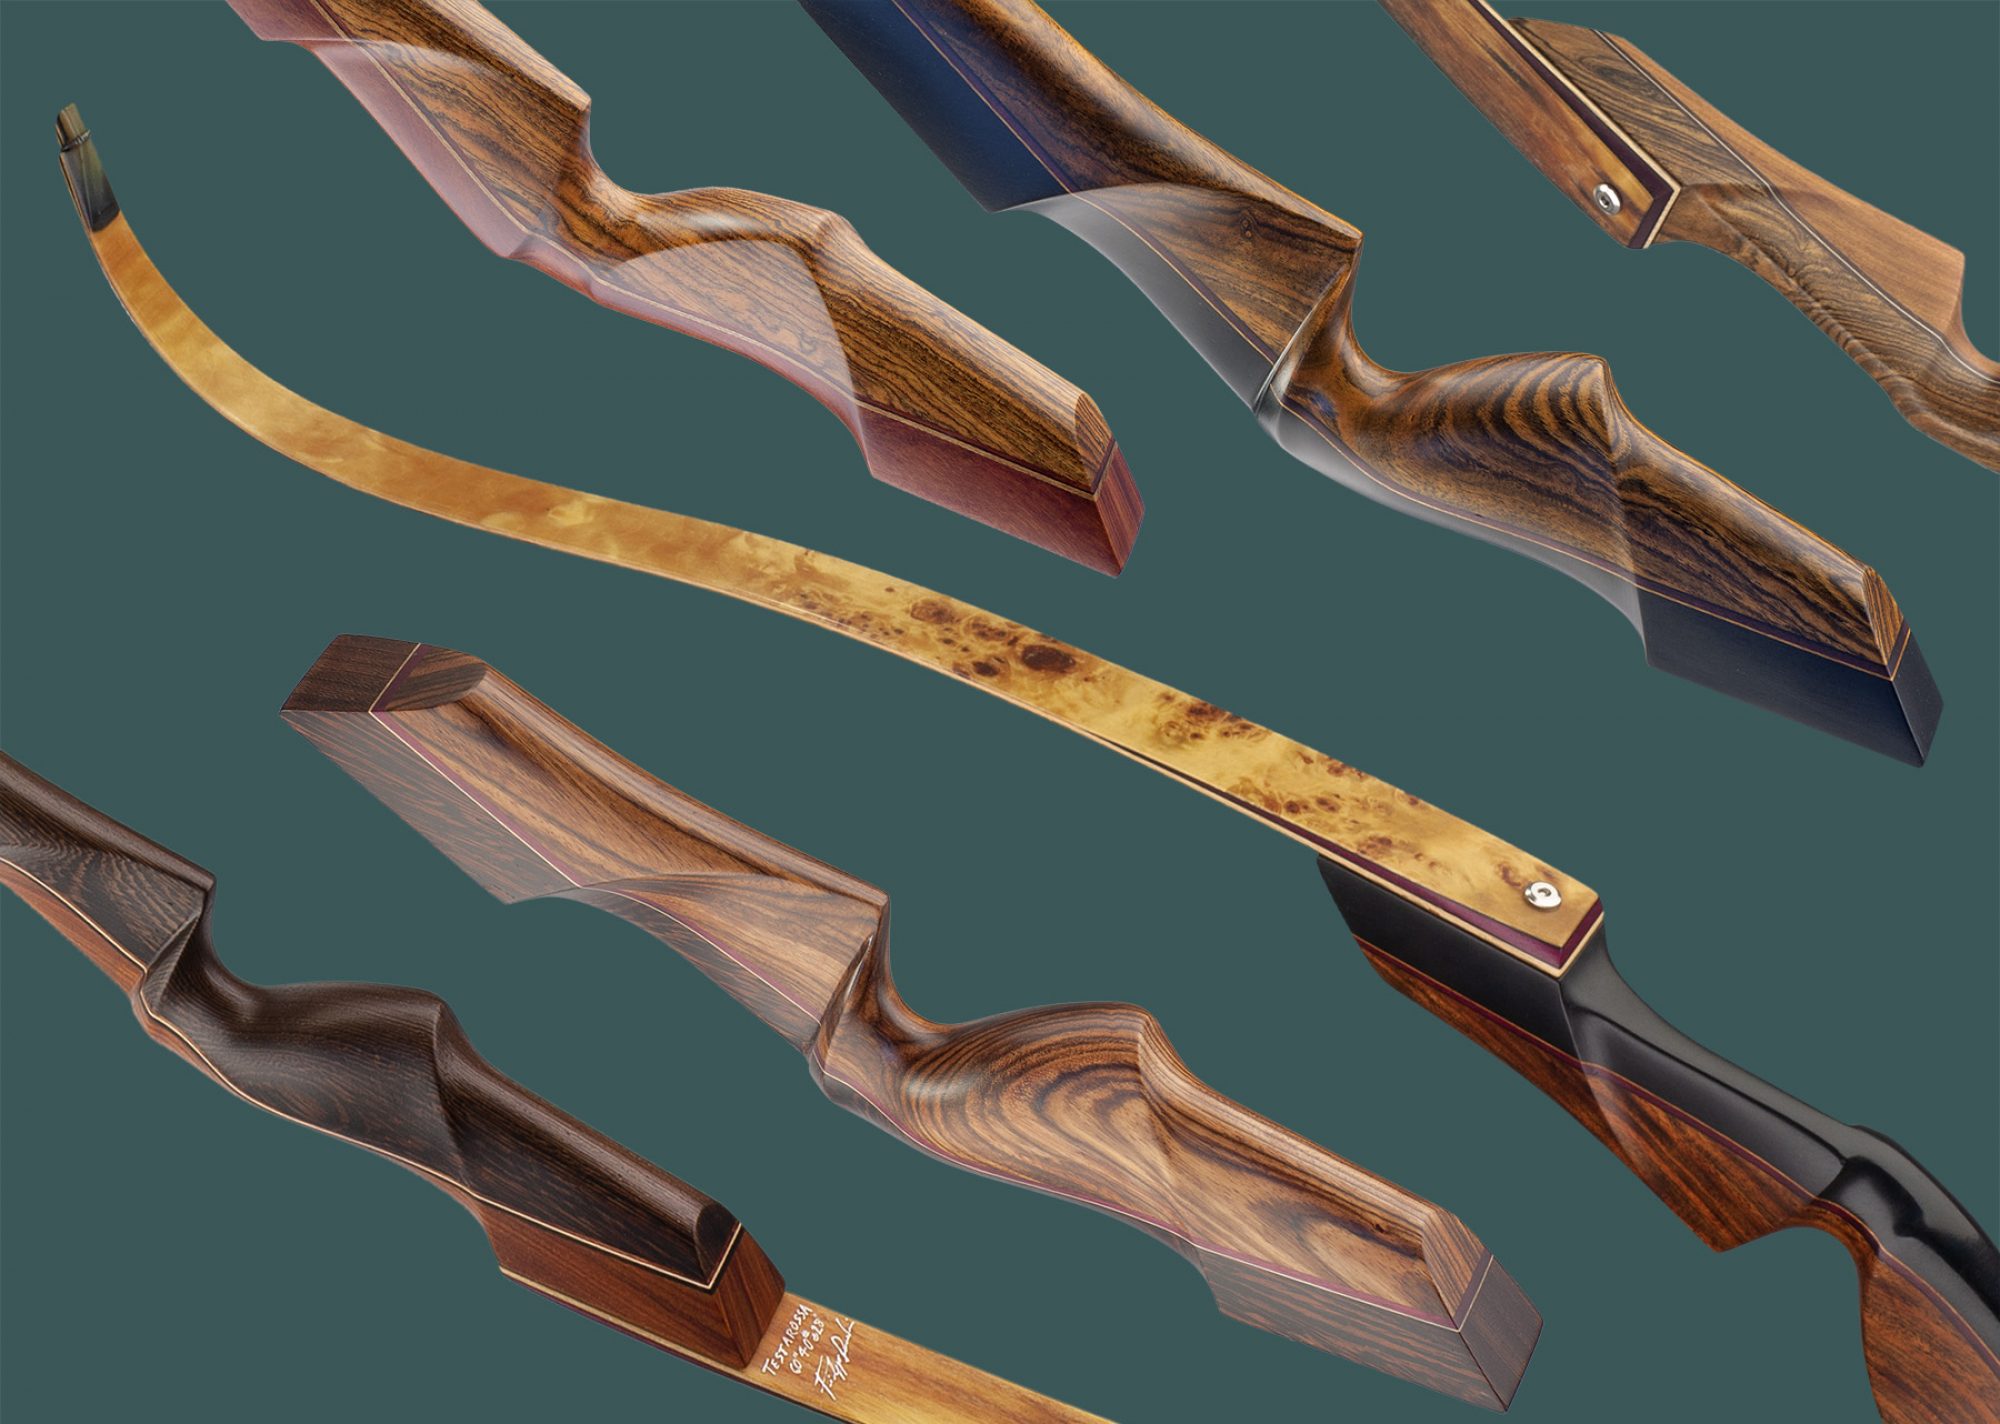

MAYBE I’LL BUILD MYSELF A BOW…
If you’ve ever thought about trying to build a bow with your own hands and are not sure where to start, here are some tips. Naturally, we are talking about traditional laminated bows, made with wooden and fiberglass laminates glued together. We are not talking about those “historical bows” obtained with just plain wood. First of all, if you are thinking about building a bow on your own just to save money, it could be a bad idea, it’s difficult to obtain on your first attempt a bow that can work better than the cheaper ones on the market. However, if you like challenges and DIY, let’s proceed!
Traditional laminated bows can be either recurve or longbow and consist of a “sandwich” of wooden strips layered between two laminates of a specific fiberglass for bows, with a handle in the center and two reinforcements at the ends to hold the string. Everything is held together by a two-component epoxy glue hardened at a high temperature (50 to 70 degrees Celsius or around 120 to 160 degrees fahrenheit).
For the project, the following is necessary:
The construction materials: special fiberglass laminations, wooden laminations, wooden block for the handle, horn or other resistant material for the tips, and epoxy glue. These can be provided by us. They are all included in the complete Longbow Kit or can be purchased separately according to your needs.
The shape: a wooden board or other material on which to harden the “sandwich” which can be straight if you want to make a classic Longbow or shaped according to the bow shape you have in mind. If you don’t have wooden boards in your garage, you can ask at a local carpenter.
A compression system to apply pressure to the lamination package while the glue hardens. You can use various methods, from an elastic band wrapped around everything to a series of clamps or even a fire hose placed on a counterform to be pressurized with a compressor.
An oven to heat everything while the glue hardens. In summer, a car parked under the sun is more than sufficient; otherwise a large radiator to place everything on is enough. Alternatively, you can build a real oven with an insulated wooden box and a heating system.
The machines for final processing: hobbyists’ tools may suffice, but if you have a carpenter friend, you can ask to use his.
Patience, desire, consistency, a place where you can make a mess, and an understanding wife: for this last one, you’ll have to manage on your own.
HOW TO PROCEED
First, you must decide what bow to make. We do not provide drawings because the beauty of this game lies in the imagination and customization of the project. Making many identical bows would not be nice. Naturally, the classic straight traditional Longbow is the easiest one to make. It may not be the best in terms of performance, but it still has its admirers. If you want to get faster arrow and less vibration, you’ll need to make a Reflex-Deflex or even a recurve bow. In this case, I recommend identifying a bow you like and tracing (when unstrung) the line on the board you will use as a mold, making modifications if necessary, and cutting it out with a band saw. Don’t worry too much about the millimeters; they’re not important for now, but try to avoid bumps or steps in the shape.
On the mold (A), the glue-wet laminates will be placed to harden in the desired shape. Beware of the glue, when heathen and under pressure it will drip from the bow to the mold with the risk of sticking them toghether, I recommend covering it with ordinary glossy packing tape on which the glue does not adhere.
The fiberglass laminations (B) have two different surfaces: the glossy side to be left on the outside of the bow and the rough side to be glued (the first lamination should have the glossy side resting on the form). Avoid touching the rough side with your bare hands, both to avoid getting glass splinters in your hands and to avoid greasing the fiberglass, compromising adhesion. It’s a good practice to vacuum the surface with an ordinary vacuum cleaner before gluing.
The transparent fiberglass, compared to the black one, has the only aesthetic advantage of allowing the wood underneath to be seen; there are no technical differences. The fiber should only be placed on the outside of the wood. Inserting a fiberglass or carbon strip inside between the wood laminates does nothing to boost performance because it unnecessarily weighs down the limb.
The wooden laminations (C) should be glued between the fiberglass laminations. The type of wood does not matter (as long as it’s resistant and lightweight). Tests show that the same bow with different woods behaves the same, so choose according to your personal aesthetic taste. Several professionals use two very thin layers of “beautiful” wood directly under the fiber and a less fancy one on the inside. The only technical choice that improves the final performance in this department is the use of laminations with tapering thickness like these ones, they allow making limbs whose thickness decreases towards the tips.
The number and thickness of the laminations used are the main variables that will determine the final poundage of the bow. Guessing exactly how many and which thickness of laminates to use to obtain a certain poundage is the most difficult part of the operation. If you are copying an existing bow, I recommend measuring the thickness of the limbs with a precision caliper and calculating the complete thickness of the laminates you intend to use to design the sandwich. Using all 4 laminates included in our kit for a straight Longbow of about 68 inches in length will give roughly 50-60 pounds, while using only three will give you around 40-50. The final poundage of the bow is influenced by several factors such as thickness, shape, length, gluing technique, and temperature. Consider that (purely as an indication) a tenth of a millimeter in thickness can correspond to around one pound. Fortunately, the final tapering processing of the width of the limbs allows some room to approach the desired power. For example, the laminates for a longbow are 38mm wide but a finished limb can be narrowed to 15mm towards the tips and between these two widths you will have quite a few pounds of difference.
The riser (D) is a piece of wood to be either glued in the center for a longbow or built separate with screw in inserts for take down recurve bows. It can be a single solid piece or composed of several glued pieces to make various inlays according to personal taste. Its strength in longbows is not very important because the front fiberglass laminate ensures robustness. If you want to avoid the aesthetic problem of cracks appearing under the paint, choose a stable and strong wood or glue its parts well with the same procedure used for the laminations (epoxy and oven).
When building a longbow the handle must be placed as shown in the picture between the wood laminates. The important thing is that its ends taper to a very thin ending between the laminates without creating steps that would weaken the bow. The surfaces that need to be glued must be scratched with thick sand paper (120/80 grit) and cleaned.
The glue to assemble everything must be EPOXY, available under various names and manufacturers, but the chemical base is similar. It has two components: a whitish one called resin and a honey-colored one called hardener. The two parts must be mixed in the indicated ratio using a precision scale. Mix thoroughly to ensure both parts are able to react completely together to ensure the best bond. (instructions for using the Epoxy Glue)
The hardening process starts as soon as the parts are mixed, so I recommend having everything on hand after simulating a dry assembly to ensure you have everything you need. The hardening process is accelerated by heat, so it’s best to do all the work in a cool place.
The glue should be spread with a spatula or a sturdy brush on the surfaces, you can also use pieces of arrows to spread the glue evenly. At this stage, it’s important to keep tools and the work surface as clean as possible. The glue can be removed with water and soap from everything except clothes.
Now, the entire package must be kept at a temperature of 50-70 degrees Celsius or around 120 to 160 degrees Fahrenheit for at least 5 hours. Epoxy glue hardens even at room temperature, but the result would be worse in terms of strength and toughness.
The glued laminates should be pressed together to force out excess glue, ensuring they adhere as best as possible to each other. Great pressure is not necessary; a series of elastics wrapping the entire form or tracing a zig-zag (like a shoe lace) around a series of nails driven on both sides of the mold may suffice. Other methods exist to compress the laminates on the mold, just try to avoid pressure spikes that would cause bumps (like metal clamps placed a few centimeters apart). A flexible strip over the last laminate can serve to distribute the pressure better.
After a few hours in the oven you can check the perfect hardening of the glue by testing the drops that have seeped out of the laminates. The glue should be completely hard, it shouldn’t be possible to mark it with a fingernail, and it should break with pliers like the sugar brittle. With the glue perfectly hardened, you can turn off the oven, allowing it to cool down slowly. Once the bow is removed from the form, it can be worked on but it’s better to not draw it for at least three days to ensure the complete hardening of the glue.
To glue the tips, which can be wood, horn, or other robust materials, the same epoxy glue should be used, reheating at least the affected area. The tips can be glued after tapering the limb, depending on how you intend to proceed.

The processing consists of tapering the limbs, carving the window and the grip in the handle, and final finishing and painting.
If you have a band saw and know how to use it you can trace the shape of the limbs and cut away the excess. However, be aware that fiberglass ruins the blade and the operation is delicate and risky.
Using files, you can do a good job, but you need to be careful not to push the fiberglass away from the wood with a too coarse file used perpendicular to the laminates. The file should work in the direction of the bow’s length.
The best thing is to use very coarse sandpaper (45 – 60) wrapped around a sander. The one in the picture is a professional version, but there are hobby versions as well. During the tapering process, periodically check the poundage reached.
When working on the handle, you should start with the window cutout, whose base for the arrow should be between 3 and 4 centimeters above the middle of the bow; the rest follows.
For finishing, the bow should be sanded by hand with increasingly fine-grit sandpaper: 80 to resolve imperfections, 100-120 to smooth everything out and 180-200 to finish before painting. For painting, the simplest (but not very durable) solution is to use a matte transparent spray can bought at a hardware store. If you have a compressors, spray guns, specific polyurethane paints, it’s better.
Have I said everything?… Of course not, there are many details that each manufacturer discovers through years of accumulated experience and their own intelligence… these represent the soul of each bow but will remain secrets.
HAVE FUN WORKING!!!